Grace Bailey
Updated:
Published:
January 20, 2023
•
•
3 min
Grace Bailey
Product Marketing Manager
Marketing Manager

Hey, I’m Grace Bailey. 👋🏼 I’m a Product Marketing Manager who has probably created a lot more Intercom help articles than most people—but in way less time. My not-so-secret weapon? Tango. Here’s how I did it.
Intercom is a wonderful tool that helps customers get the exact support they need at the exact moment they need it. My first experience with Intercom left me feeling like I stumbled on the product marketing Holy Grail. It quickly became a critical part of our sales, marketing, support, and success technology stack.
Like all knowledge bases, Intercom is only as good as the content you put into it. During the rollout, it was my job to work with our success team to write help articles for our customers. Making useful documentation takes a lot of time. That’s where Tango comes in.
If you’ve created a how-to guide lately, you know:
❌ It’s frustrating, tedious work
❌ It takes hours to document a single process
❌ It’s painful to crop, edit, and annotate screenshots
It’s even worse knowing your screenshots may be out of date in a month or two and you’ll have to rebuild the same help article all over again. I dreaded it, and I lived with this repetitive agony—until I found Tango. Here’s how it works:
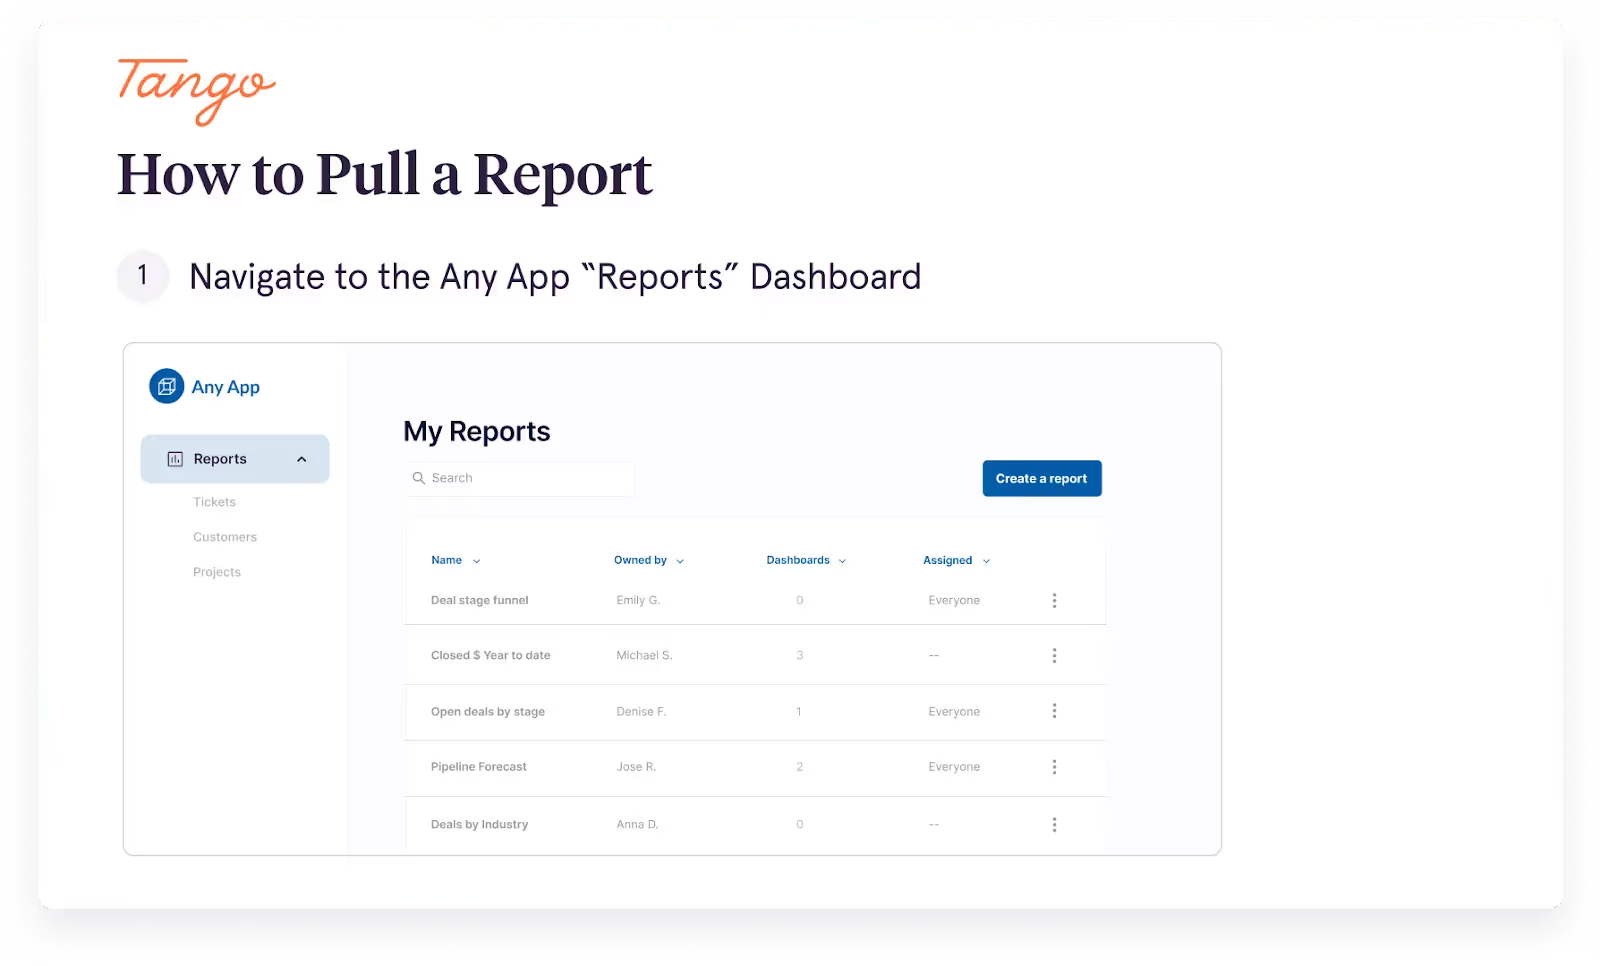
1. Capture: Turn on Tango and just click through your process. Tango automatically creates a step-by-step checklist with labels, descriptions, and annotated screenshots.
2. Customize: Blur out sensitive information, customize the descriptions, and add more annotations (most of the time, the version Tango creates is so good that I skip this part).
3. Share: Sync your Tango to your knowledge base, share a direct link, or export to PDF.

Here are a few features I found helpful 👇
The orange highlighter lets you point, click, and grab any part of your screen—image or text, big or small. It’s fun to use and better than other screenshot tools that force you to start by cropping your screen.

Editor makes it easy to add, remove, or update steps, blur out sensitive information, and add visual elements like squares, circles or arrows. I’m a little picky about where I like my little orange squares 😁 so sometimes I move them around after capturing everything.

Auto zoom automatically zooms in on the part of the image where you point the orange highlighter. It gives the look of an animated GIF without any of the work.

Magic Copy brings all the screenshots, labels, and descriptions into Intercom (or any knowledge base of your choice) with two clicks.

Before Tango, help articles would take at least an hour. With Tango, I can create a higher quality help article in a few minutes. And when the product or process inevitably changes, it takes me 30 seconds to update it.

My productivity is up:
✅ I launch new features and updates a lot faster
✅ I make 10 Intercom help articles in the time it used to take me to make one
✅ My co-workers think I work 14-hour days because I publish so many Intercom help articles 😂
Customers are happier:
✅ They’re leaving higher post-interaction ratings 🤩
✅ They get instant gratification and spend less time waiting to talk to someone
✅ They prefer the Tango help articles because they’re clearer, with perfectly cropped and annotated screenshots and no walls of text

Tango is free, so you can try it right now. Check out these examples if you aren’t sure where to start 👇
We'll never show up
empty-handed (how rude!).

